
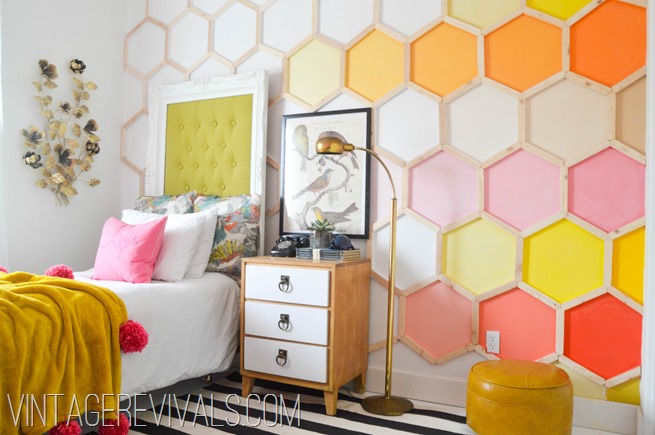
I think my thought process started out as I discovered the blog Vintage Revivals and Mandi was blowing my mind with her little girl's bedroom reveal. Isn't this totally amazing? I love the balance of white and color and the warmth from the wood tones.
I started looking through Mandi's other tutorials and projects and she had completed a Herringbone design on the ceiling of her entry way. And that's where my dream began. I found another tutorial from Design Sponge here, and this was also helpful. For me, I divided the wall in half and then those halves into half. I am an English major and math is not my strong suit. When I measured the wall height it was basically 102 inches so I made marks every 6 inches for the sake of it not being so hard on my brain. I drew it out on paper first. These photos are from my iPhone so my apologies in advance! I was able to pawn #1 off to Grammie and Grandpa, borrow a pack and play from my mother-in-law and Turtle was out of town which is how I had time to accomplish this project.

Oh the fun part. The tapping of the wall. The vertical lines were the worst. It was a good bit of up and down and re-taping to make sure they were straight. That was the hardest part. Once the tape was up and straight I took a yard stick and a sharpie and marked every 6 inches. Then I started taping the diagonals. Those went fairly quickly if the twins were sleeping and I could get into a good rhythm.

The small dots of tape I found helpful (as did the tutorial givers mentioned above) to make sure you don't paint the wrong lines. Trust, your mind will look at a spot and think, "Hey, I forgot to paint this."


Please ignore the previous owners window treatment choices. We are having new blinds and roller shades installed next week. After reading some other information about painting any kind of stripes on walls in general in regards to bleed through I found most people preferred Frog Tape but I was able to find 3M Blue Tape with paint block in 1 inch so that is what I ended up using. It did a fairly good job. I think if I had more time I would have re-painted the white over the ends to seal the tape and cut the bleeding of the other color. But again, time is not on my side EVER. I painted this wall for me and the bleed through you can see when you are right up on the wall doesn't bother me. I also ripped the tape of after 30 minutes of it being completely painted and didn't have any issues with it bringing any paint off.

As #1 would say.....TAAAADAAAA! I will try to get my fancy camera and take better pictures for you but you get the idea. Paint colors are Sherwin Williams West Highland White and Benjamin Moore Rainwashed. The BM color was color matched to Sherwin Williams Duration paint in matte finish.
No comments:
Post a Comment